
Again, liberal use of heatshrink, mostly colour coded. A range of tests carried out as construction progressed, including checking that the Arduinos on-board regulator could handle 13.8V (ive had some blow!), and that the device recognised the temperature sensor on each port. This at first didnt work, but that was because I had wired the sensor chip up to the phono lead backwards! A final check with the temperature sensor, heater band, and a can of freezer spray, showed all to be working properly. All that is left now is to label everything up and put the lid on!
So next up came the LiPo battery for the PRC-350. This wasnt a complicated task, but was difficult! First, another cutout was needed for the switch that will control the external auxiliary outputs. I managed to measure this wrong (or rather, right but in the wrong place) and drilled a 12mm hole then filed it out for the rectangular shape of the rear of the switch. It was only then that I realised that the part of the switch that will actually sit through the panel was round like the front! So I remeasured, and with a very bouncy and complaining step drill bit, expanded the whole to 20mm
 |
| Partly cut switch hole |
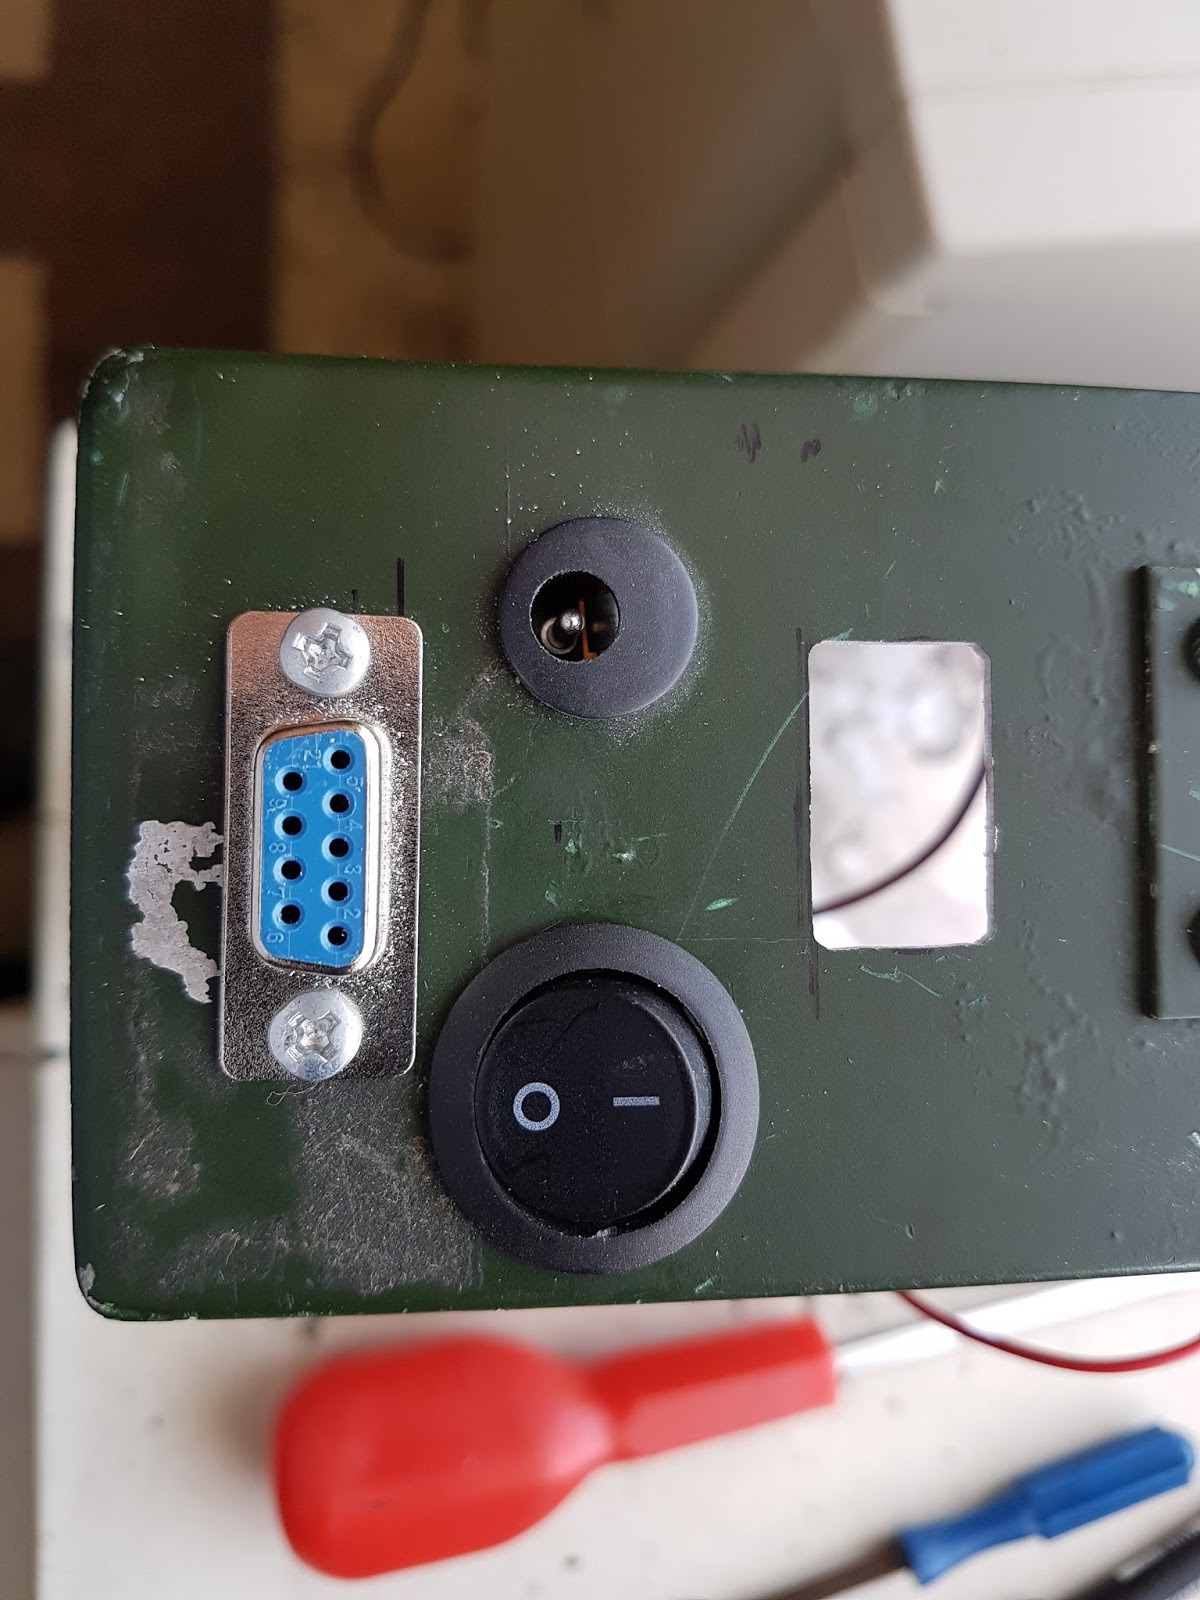 |
| Switch fitted in its 20mm hole |


Again, for very obvious reasons of there being essentially a 15V 3A 30C bomb in the box, liberal use of heatshrink was required. I also managed to wire the main switch to the battery terminals directly forgetting to fit the fuse! Another bit of corrective work and the fuse holder, plus 2A fast blow fuse, was connected The battery terminals were then reconnected, and coated in hot melt glue to insulate the screws.
A very liberal sloshing about of hot-melt glue then to secure the low voltage monitor and the USB charger modules in place.

A few bits of foam were inserted then to hold the battery in place and to stop it bouncing about in the box, and the switch, DC jack and USB output tested. So, if required, this pack can provide 5V out from the USB for general use charging phones or running small devices, and 15V up to 2A for other uses. I would anticipate that being used for devices with their own internal regulators!


As can be seen in the above photos, the low voltage monitor comes into play when the shorting plug is attached. I do still need to attach a lanyard to this to the battery case to avoid it being lost. The battery is also now marked, like the 24V LiPo pack for the PRC-320/-351, with red, in this case a band of red PVC tape around the top, to mark it out as requiring special charging.
The last thing to do was to build the balance charge cable.

With the five connections made, sleeved and tested, the D-type was fastened away in a shell. The whole pack was then put on a balance charge, ready for use.
With these two projects completed, I cleared off the bench (which by this time was a filthy mess of cut bits of wire insulation and solder blobs), and started to set up ready to do a bit more on the 4m transverter, which I have neglected for far too long.
No comments:
Post a Comment